Easy Steps to Clean Your Bottle Warmer: A Must-Try Guide
Are you tired of dealing with a dirty bottle warmer? Well, fret no more! This handy guide will take easy steps to keep your bottle warmer, clean, and functioning at its best. Whether you are a new parent or an experienced one, maintaining a clean bottle warmer is essential for your baby’s health and safety.
So, let’s dive into the must-try steps to keep your bottle warmer squeaky clean!
Step 1: Unplug and Disassemble
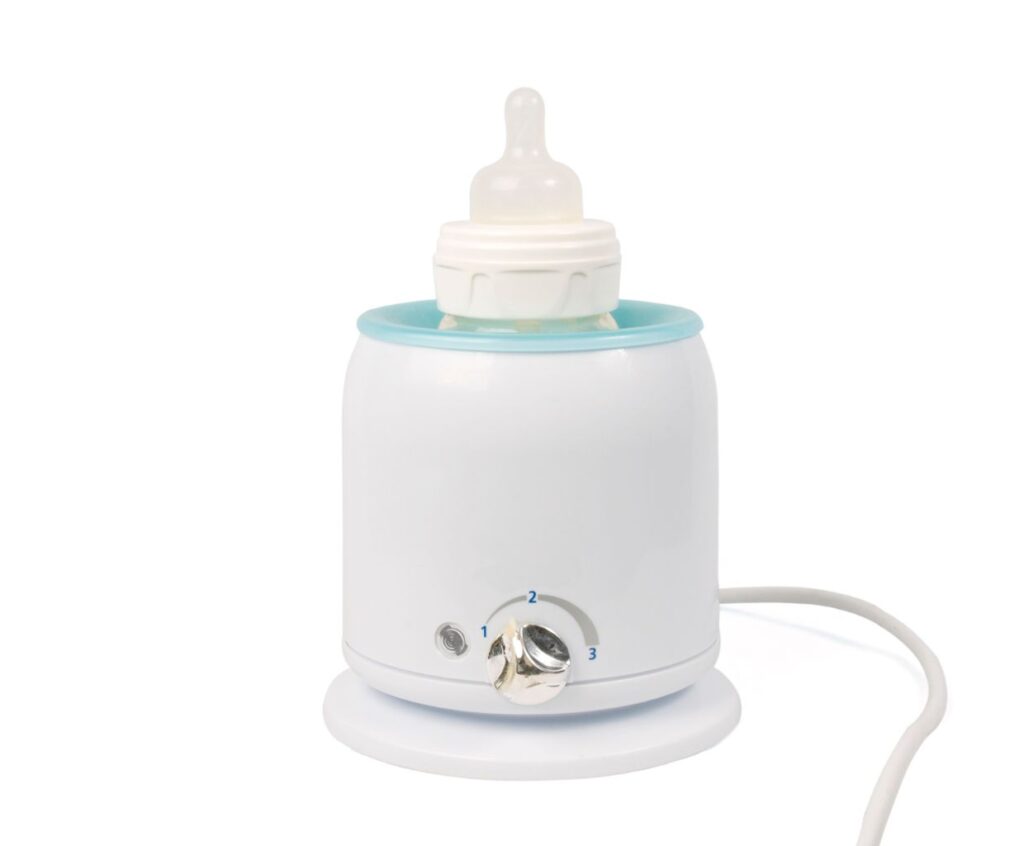
Before cleaning your bottle warmer, ensure it is unplugged and has cooled down completely. Then, carefully disassemble the various parts of the warmer, such as the bottle basket, warming chamber, and lid. Refer to the manufacturer’s instructions if you are unsure how to disassemble your specific bottle warmer model.
Step 1.1: Remove the Bottle Basket
Start by removing the bottle basket, usually placed at the top of the warmer. This is where you put the bottles for warming. Gently lift it out and set it aside for cleaning.
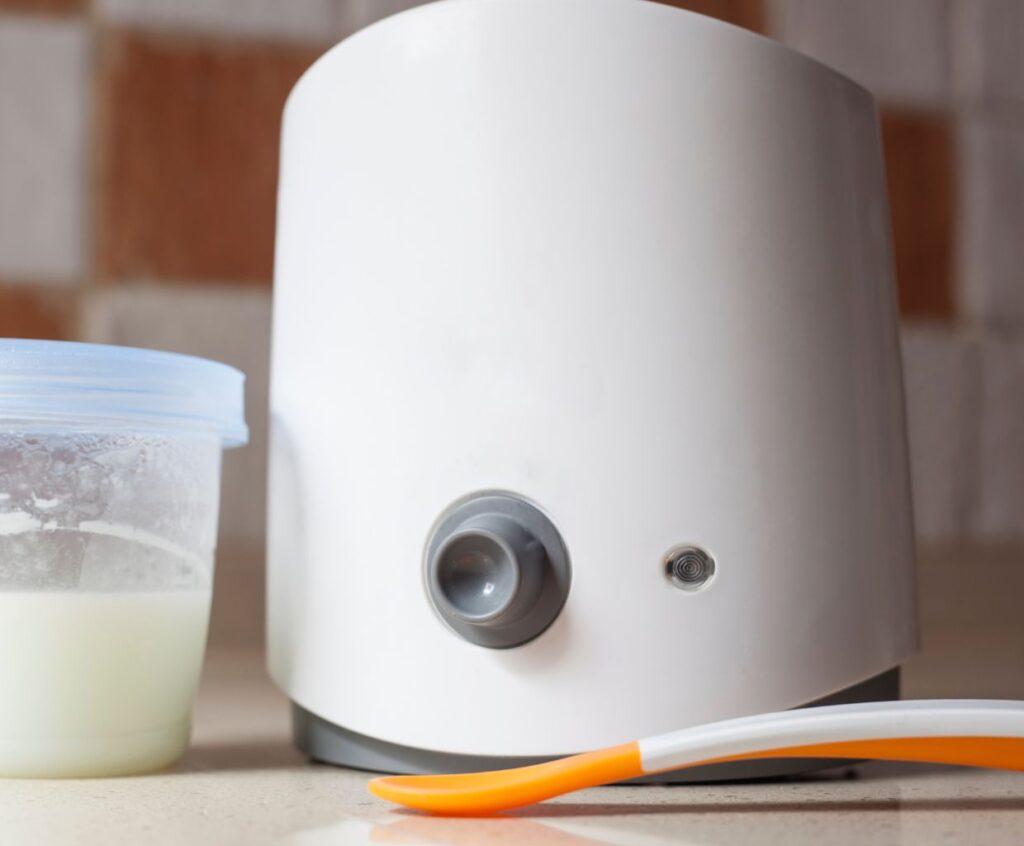
Step 1.2: Detach the Warming Chamber
The warming chamber is the main component of the bottle warmer. Carefully detach it from the base or heating unit. This chamber is responsible for heating the bottles, requiring thorough cleaning.
Step 1.3: Take Off the Lid
Next, remove the lid from the bottle warmer. Some warmers may have a separate lid covering the chamber, while others may have a hinged lid. Whatever the case, remove it gently and set it aside for cleaning.
Step 2: Clean with Warm, Soapy Water
Once you have disassembled the bottle warmer, it’s time to clean each part individually. Fill your sink or basin with warm, soapy water. Take each component and wash it thoroughly using a soft sponge or cloth. Pay special attention to any dirt or residue accumulated on the surfaces.
Step 2.1: Scrub the Bottle Basket
Scrub the bottle basket to remove any milk or formula residue using warm, soapy water. Make sure to clean all the nooks and crannies of the basket, as these areas tend to trap leftover particles.
Step 2.2: Clean the Warming Chamber
The warming chamber can accumulate mineral deposits or residue from the bottles. Use a gentle scrubbing brush or sponge to clean the inside and outside of the chamber. Use equal builduphite vinegar and water for stubborn stains or mineral buildup. Rinse the chamber thoroughly after cleaning to remove any soap or vinegar residue.
Step 2.3: Wash the Lid
Clean the lid with warm, soapy water, paying attention to the areas directly from the bottles. Clean the hinge properly if the lid is hinged to remove any dirt or buildup.
Step 3: Dry and Reassemble
After building each component, rinse them thoroughly with clean water to remove any soap or vinegar residue. Shake off excess water and place the parts on a clean towel or drying rack to air dry completely.
Step 3.1: Reassemble the Bottle Warmer
Once all the parts are dry, reassemble the bottle warmer by carefully putting the warming chamber back onto the base or heating unit. Make sure it fits snugly and securely. Then, place the bottle basket back into its designated spot and close the lid.
Step 4: Regular Maintenance
Now that your bottle warmer is clean and ready to use remember to perform regular maintenance to keep it in optimal condition. Wipe the exterior of the warmer with a damp cloth to remove any dust or spills. Additionally, always check for any signs of wear or damage and promptly replace worn-out parts.
Step 4.1: Deep Clean Periodically
Although regular cleaning is essential, performing a deep clean of your bottle warmer every few weeks is also a good idea. Follow the manufacturer’s instructions on descaling or removing mineral deposits if necessary.
By following these easy steps, you can ensure your bottle warmer remains clean, safe, and efficient for your little one’s needs. Happy bottle warming!
How frequently should a bottle warmer be cleaned to ensure optimal performance?
It is recommended to clean a bottle warmer after every use to ensure optimal performance. This will help remove any milk residue or buildup that can affect the functionalitbuildupe warmer.
Are there any specific cleaning solutions recommended for sanitizing a bottle warmer?
When sanitizing a bottle warmer, using a mild dish soap or a mixture of equal parts water and white vinegar is recommended. These solutions can effectively clean and sanitize the bottle warmer without leaving any harmful residue.
Additionally, following the manufacturer’s instructions and guidelines for cleaning and sanitizing the specific bottle warmer model is essential.
Can you provide a step-by-step guide on disassembling a bottle warmer for thorough cleaning?
Sure! Here is a step-by-step guide on how to disassemble a bottle warmer for thorough cleaning:
1. Gather all the necessary supplies: dish soap, warm water, a soft brush or sponge, and a clean towel.
2. Unplug the bottle warmer from the power source and make sure it is completely cool before starting the disassembly process.
3. Remove the bottle from the warmer and pour any remaining liquid.
4. Check for removable parts, such as a bottle holder, water reservoir, or steam chamber. If there are any, remove them according to the manufacturer’s instructions.
5. Fill a sink or basin with warm water and add a few drops of dish soap. Mix it gently to create a soapy solution.
6. Submerge all the removable parts in the soapy water and let them soak for a few minutes to loosen any residue or build-up.
7. Use a soft brush or sponge to build up the parts thoroughly, paying attention to any crevices or hard-to-reach areas.
8. Rinse each part under running water to remove any soap residue.
9. Wipe the exterior of the bottle warmer with a damp cloth, including any buttons or control panels. Be careful not to let water enter the electrical components.
10. Dry all the disassembled parts with a clean towel or leave them to air dry on a clean surface.
11. Once everything is dry, reassemble the bottle warmer according to the manufacturer’s instructions.
12. Plug the bottle warmer back into the power source and ensure it works properly before using it again.
Following these steps will help you thoroughly disassemble and clean your bottle warmer, ensuring a hygienic and safe environment for your baby’s bottles.
