Step-by-Step Guide: Cleaning a Bottle Sterilizer with Vinegar
Keeping your baby’s bottle sterilizer clean is crucial for maintaining a healthy and hygienic environment for your little one. One practical and natural way to clean your bottle sterilizer is vinegar.
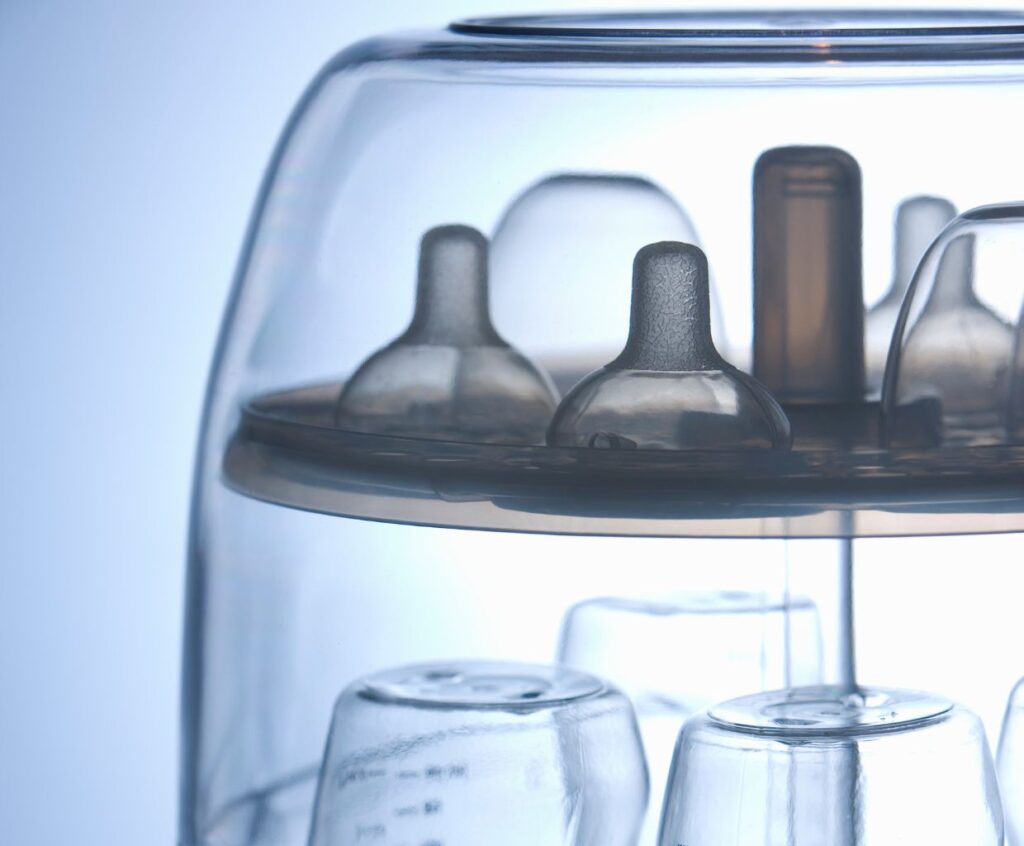
A bottle sterilizer is an invaluable tool for parents and caregivers, ensuring that the bottles, nipples, and other feeding accessories are thoroughly disinfected, free from harmful bacteria, and safe for your baby. Regularly maintaining and cleaning your bottle sterilizer is essential to ensure its effectiveness in keeping your baby’s feeding equipment hygienic.
This article will focus on one effective method for cleaning a bottle sterilizer – using vinegar. Vinegar is a natural and readily available household item known for its cleaning and disinfecting properties. We will explore the step-by-step process of using vinegar to clean your bottle sterilizer. We will offer practical tips and insights to help you maintain a clean and sanitized environment for your baby’s feeding essentials. Whether you’re a new parent or an experienced caregiver, understanding how to clean a bottle sterilizer with vinegar can be valuable in your baby care routine. Let’s delve into this simple yet effective cleaning method.
Vinegar is a powerful disinfectant that can eliminate bacteria and germs effectively without leaving any harmful residue.
Materials Needed
-
- A bottle sterilizer
-
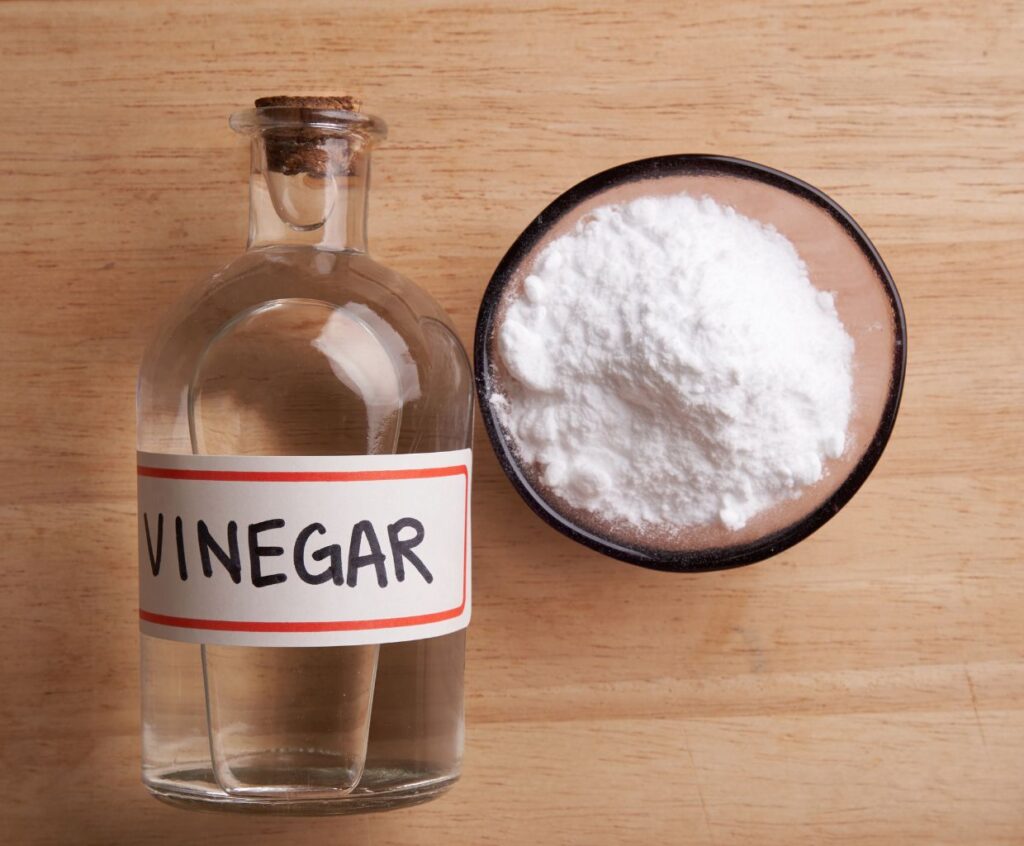
- Vinegar (white or apple cider)
-
- Water
-
- A soft cloth or sponge
Step 1: Preparation
Before cleaning, ensure your bottle sterilizer is unplugged and completely cooled down. This will prevent any accidents or burns while handling the sterilizer.
Step 2: Dilute Vinegar
Fill your sink or a large basin with equal vinegar and water. The amount of vinegar and water needed will depend on the size of your sterilizer. Mix the solution well.
Step 3: Disassemble the Sterilizer
Take apart the different components of your bottle sterilizer. This may include the lid, racks, and any other removable parts. Refer to the manufacturer’s instructions if you are unsure how to disassemble your specific sterilizer model.
Step 4: Soak the Components
Place all the disassembled parts into the vinegar and water solution. Ensure that the components are fully submerged in the liquid. Let them soak for at least 30 minutes to allow the vinegar to dissolve any built-up residue and kill bacteria.
Step 5: Scrub and Rinse
Using a soft cloth or sponge, scrub the sterilizer components thoroughly to remove any remaining dirt or residue. Pay extra attention to any stubborn stains or hard-to-reach areas. Once cleaned, rinse each component under running water to remove any vinegar residue.
Step 6: Drying and Reassembly
After rinsing, place all the sterilizer parts on a clean towel or drying rack to air dry completely. Once dry, reassemble the sterilizer carefully, ensuring all the parts fit securely.
Step 7: Final Wipe Down
Dampen a clean cloth or sponge with the vinegar and water solution. Give the sterilizer’s exterior a gentle wipe to remove dirt or stains. This step will help maintain the overall cleanliness and hygiene of your sterilizer.
Why is vinegar an effective cleaner for bottle sterilizers?
There are several reasons why vinegar is an effective cleaner for bottle sterilizers:
1. Natural disinfectant: Vinegar is a natural disinfectant with antimicrobial properties. It can kill many types of bacteria, viruses, and fungi that may be present in bottle sterilizers.
2. Removes mineral deposits: Mineral deposits can build up over time in bottle sterilizers, mainly if hard water is used. Vinegar is acidic, which helps dissolve and remove these mineral deposits.
3. Non-toxic and safe: Vinegar is non-toxic and safe, making it a preferable choice for cleaning baby-related products like bottle sterilizers. It does not leave behind any harmful residues that could harm the baby.
4. Cost-effective: Vinegar is an inexpensive cleaning agent compared to specialized cleaners. It is readily available in most households and can be used in larger quantities without worrying about the cost.
5. Environmentally friendly: Vinegar is more environmentally friendly than harsh chemical cleaners. It is biodegradable and does not contribute to water pollution when washed down the drain.
Vinegar is an effective and safe option for cleaning bottle sterilizers due to its natural disinfectant properties, ability to remove mineral deposits, non-toxic nature, cost-effectiveness, and environmental friendliness.
Are there any alternative methods or cleaning solutions to vinegar for cleaning a bottle sterilizer?
Yes, there are alternative methods and cleaning solutions to vinegar for cleaning a bottle sterilizer. Some options include:
1. Baking Soda: Mix baking soda with water to create a paste. Apply the paste to the sterilizer and scrub gently with a soft cloth or sponge. Rinse thoroughly with water.
2. Lemon Juice: Squeeze fresh lemon juice into a bowl and dilute it with water. Use this solution to wipe down the sterilizer or soak the removable parts in the lemon juice mixture. Rinse well afterward.
3. Hydrogen Peroxide: Mix equal parts of hydrogen peroxide and water. Apply the mixture to the sterilizer and let it sit for a few minutes. Scrub with a brush or sponge, then rinse thoroughly.
4. Dish Soap: Use a mild dish soap and warm water to clean the sterilizer. Scrub the surfaces thoroughly with a soft brush or sponge, then rinse well with water.
5. Commercial Sterilizer Cleaner: Specific cleaning solutions are designed for bottle sterilizers. Follow the instructions on the product label for proper usage.
Remember to always check the manufacturer’s instructions for your specific bottle sterilizer model before using any alternative cleaning methods or solutions, as some may be incompatible or may void the warranty if used.
What are the step-by-step instructions for cleaning a bottle sterilizer with vinegar?
Cleaning a bottle sterilizer with vinegar can help remove mineral buildup and sanitize the unit. Here are step-by-step instructions for cleaning a bottle sterilizer with vinegar:
1. Unplug the bottle sterilizer from the power source and allow it to cool down completely.
2. Remove any removable parts or accessories from the sterilizer, such as bottle racks, trays, or water reservoirs.
3. Fill a sink or basin with white vinegar and water. The amount of mixture needed will depend on the size of the sterilizer.
4. Place the removable parts and accessories into the vinegar-water mixture and let them soak for 15-30 minutes. This will help loosen any mineral deposits or residue.
5. While the removable parts are soaking, dampen a clean cloth or sponge with the vinegar-water mixture.
6. Wipe down the interior and exterior surfaces of the sterilizer with a cloth or sponge. Pay extra attention to any areas with visible buildup or stains.
7. Use a soft brush, such as a toothbrush, to scrub any hard-to-reach areas or crevices inside the sterilizer. This will help remove any stubborn residue.
8. Rinse the removable parts and accessories thoroughly with clean water to remove any vinegar residue.
9. Rinse the vinegar-water mixture from the sink or basin.
10. Fill the sink or basin with clean water and place the removable parts and accessories back into the water to rinse them. Alternatively, you can rinse them under running water.
11. Once everything is rinsed, dry all the parts thoroughly with a clean towel or allow them to air dry.
12. Wipe down the interior and exterior surfaces of the sterilizer with a clean, dry cloth to remove any excess moisture.
13. Reassemble the sterilizer, ensuring all parts are correctly in place.
14. Plug the sterilizer back into the power source, and it is ready for use.
It is essential to follow the manufacturer’s instructions for cleaning and maintenance, as some sterilizers may have specific guidelines or recommendations.
Cleaning a Bottle Sterilizer with Vinegar – Conclusion
Regularly cleaning your bottle sterilizer with vinegar is a simple and effective way to ensure your baby’s bottles and accessories are free from harmful bacteria.
Following these step-by-step instructions, you can maintain a hygienic environment for your little one’s feeding needs.
